DIY Frame It ~ Art Puzzle Tutorial

FRAME IT! Turn your art jigsaw puzzles into works of fine art. This project is perfect for home décor or as a gift idea.
All of the puzzles in my “Puzzle Boutique” feature works from my fine art acrylic painting collection with 30 to 1,014 piece counts. They are also priced affordably, ranging from $12 - $45 per puzzle. For this project, I am using the 11” x 14” Colorful Red Blue Patriotic Impressionistic Summer Jigsaw Puzzle, a 252 piece puzzle at an affordable price. The elegant 11" x 14" wood frame was an awesome find at a local thrift store!
Click here to see the video for a visual tutorial. (YouTube link)
You will need the following supplies for this project:
- assembled puzzle
- frame with the glass removed
- 3 foam core boards (one large and two smaller boards - you might need to cut the boards down in order to fit into your frame)
- garbage bag or other material to protect your work surface
- wax paper
- scissors (if applicable)
- painters tape
- puzzle glue (I used Mod Podge Puzzle Saver)
- sponge brush
* optional spray adhesive
* optional colored poster board or colored paper

*As an option, you may choose to cover your foam core board with colored poster board that matches your puzzle background. The purpose for this is, if there is a little space around the puzzle that is not covered by the lip of the frame, it would blend with the puzzle background. Plus, if the puzzle slides during gluing you would not notice it as much.
Using one of the smaller sized foam core boards, a colored poster board (the same size of the smaller poster board), and a can of spray adhesive; you will first spray the adhesive on to the foam core board following the directions on the can. It is always best to do this outdoors and in a well-ventilated area. Coat one side of the foam core board entirely, especially the top edges. Then, line up the poster board and sandwich the two pieces together, making sure there are not any air bubbles. Smooth the surfaces firmly with your hand and let dry for 24 hours.
Puzzle Gluing and Framing Instructions:
Prepare your work area by taping down a garbage bag or other protective material.

Next, wrap the other smaller foam core board entirely with wax paper attaching it on the backside with painter's tape. Transfer your assembled puzzle onto the larger foam core board. I personally like putting my puzzles together on a larger sized foam core board and prefer to use it as my base when flipping. As for the color of the larger board, it does not need to be colored, I just did that for the sake of the video and imaging.

Position your assembled puzzle close to the edge. Place the wax paper covered board on top of the puzzle, wax paper side down touching the picture on the puzzle. The puzzle will now be sandwiched in between the larger foam core board and the wax paper foam core board. Holding the two outer boards tightly, flip them so that the smaller board will now be on the bottom. After you remove the larger board, the backside of the puzzle should be showing.

Make sure to position the puzzle directly in the center of the wax paper board. Gently using a sponge brush, apply the puzzle glue - try to keep the puzzle from shifting. Thoroughly coat the puzzle with the puzzle glue.

Next, while the glue is still wet, place the colored foam core board on top of the glued puzzle pieces and press down. The color side of the foam core board should be facing down and touching the glued puzzle pieces. Now your puzzle should be sandwiched in between the 2 smaller foam core boards.

While the puzzle is wet, flip it over and gently remove the wax paper board. Let dry completely.

Once the puzzle is dry, insert it into your frame and secure it in place. I used scissors to bend the staples (to secure the mounted puzzle) that are located on the backside of my frame.

As an added touch, if you are going to give the framed puzzle as a gift, be sure to sign the backside to make it extra special.

In addition to florals, my Puzzle Boutique also features pet and spiritual puzzles from my acrylic collections - click here to shop.
Please tag me @melindatomaselloart so that I can see your creations. Happy framing!
Also in Blog


Closing Time ~ Marking the the End of an Era
"As the year comes to an end, so does this chapter of my life."
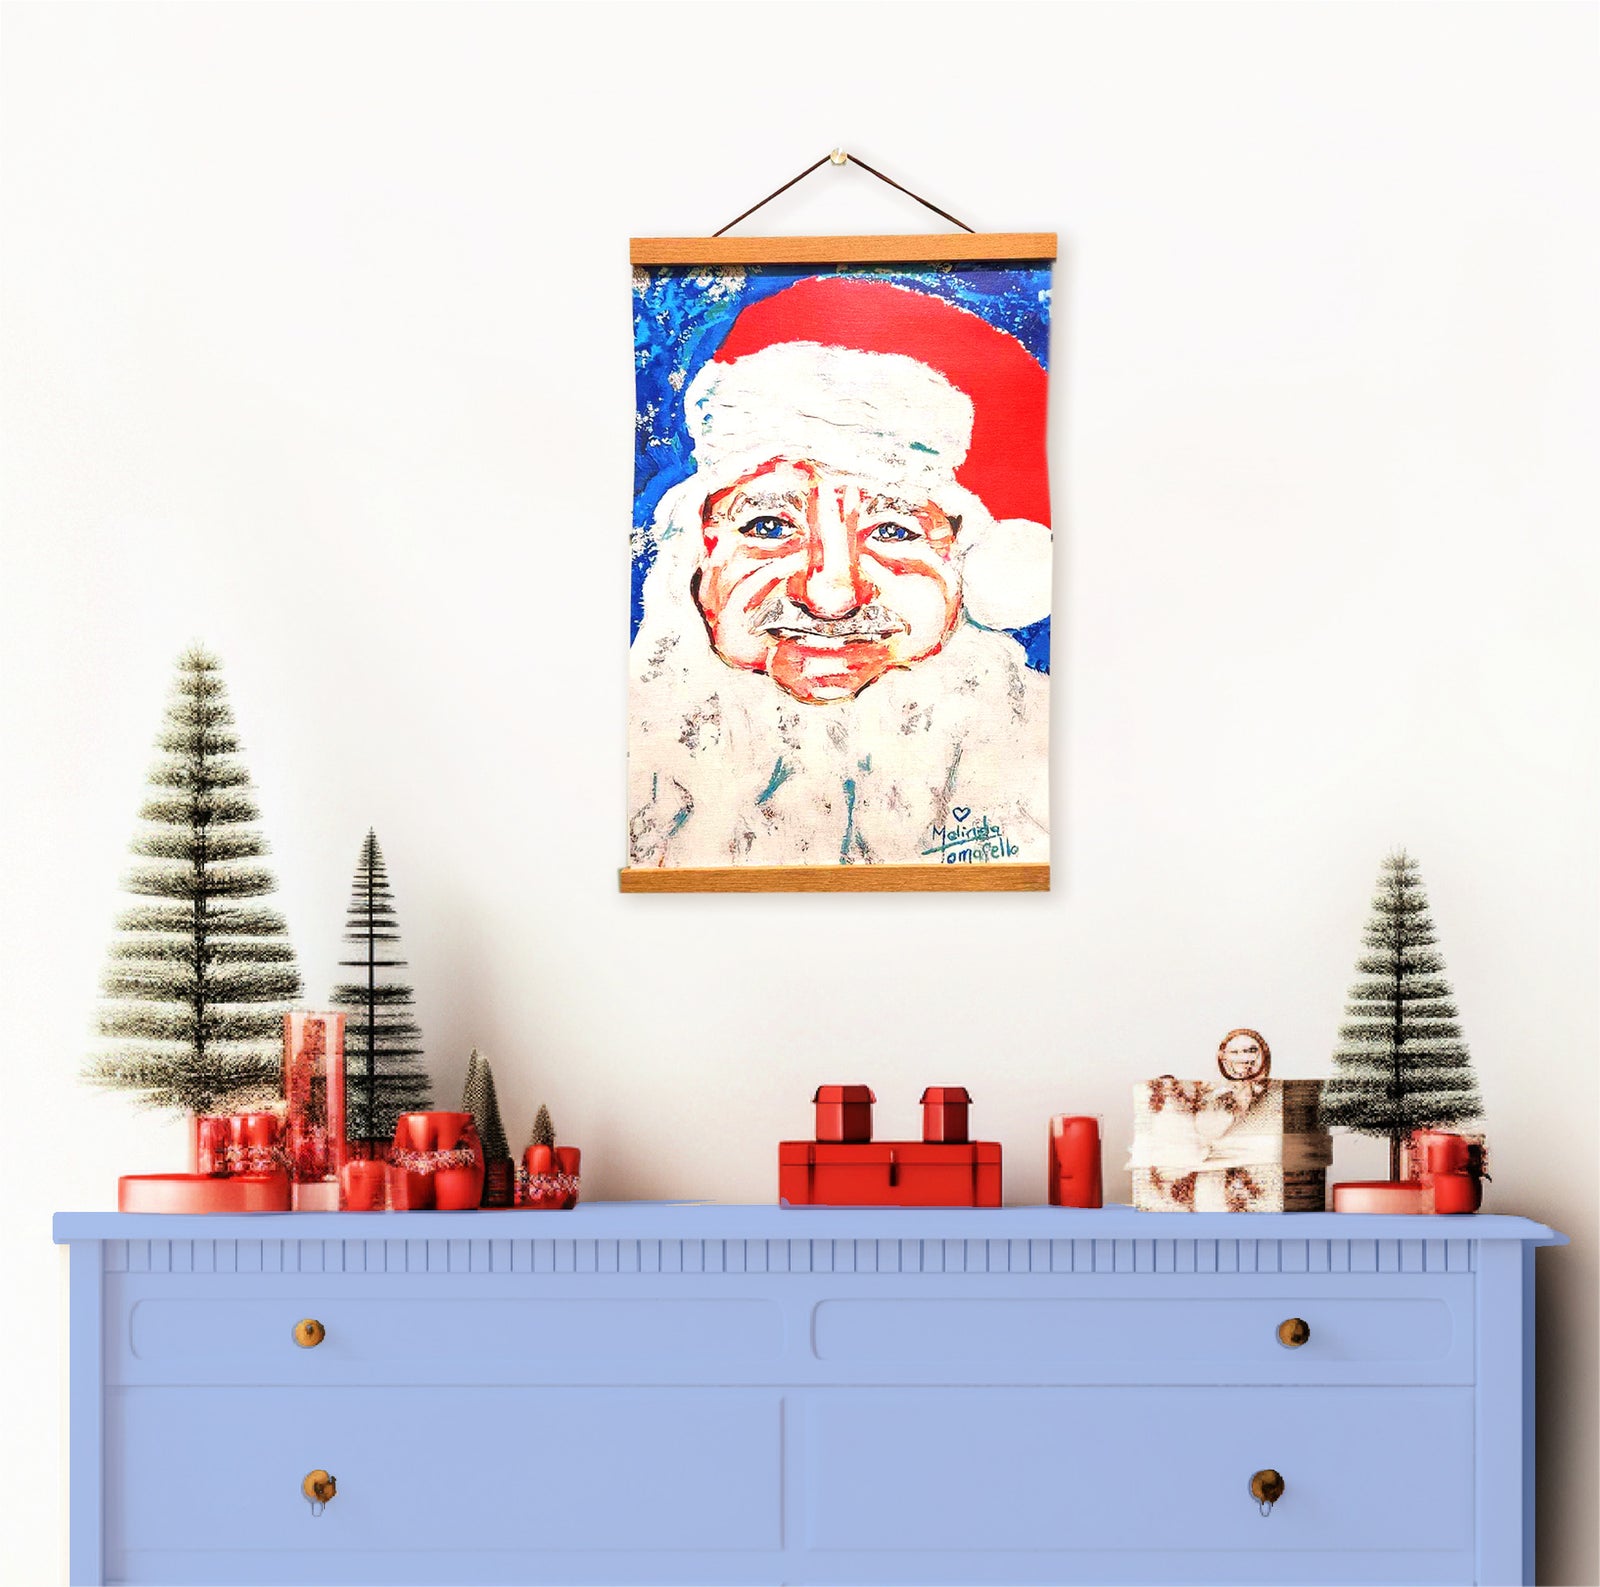

Santa ~ Putting a Little Love in Your Heart
"The inspiration behind my “Love for Santa” wall art hanging …. his warm and infectious grin with his sparkly blue eyes, plus he has a larger-than-life personality to match."
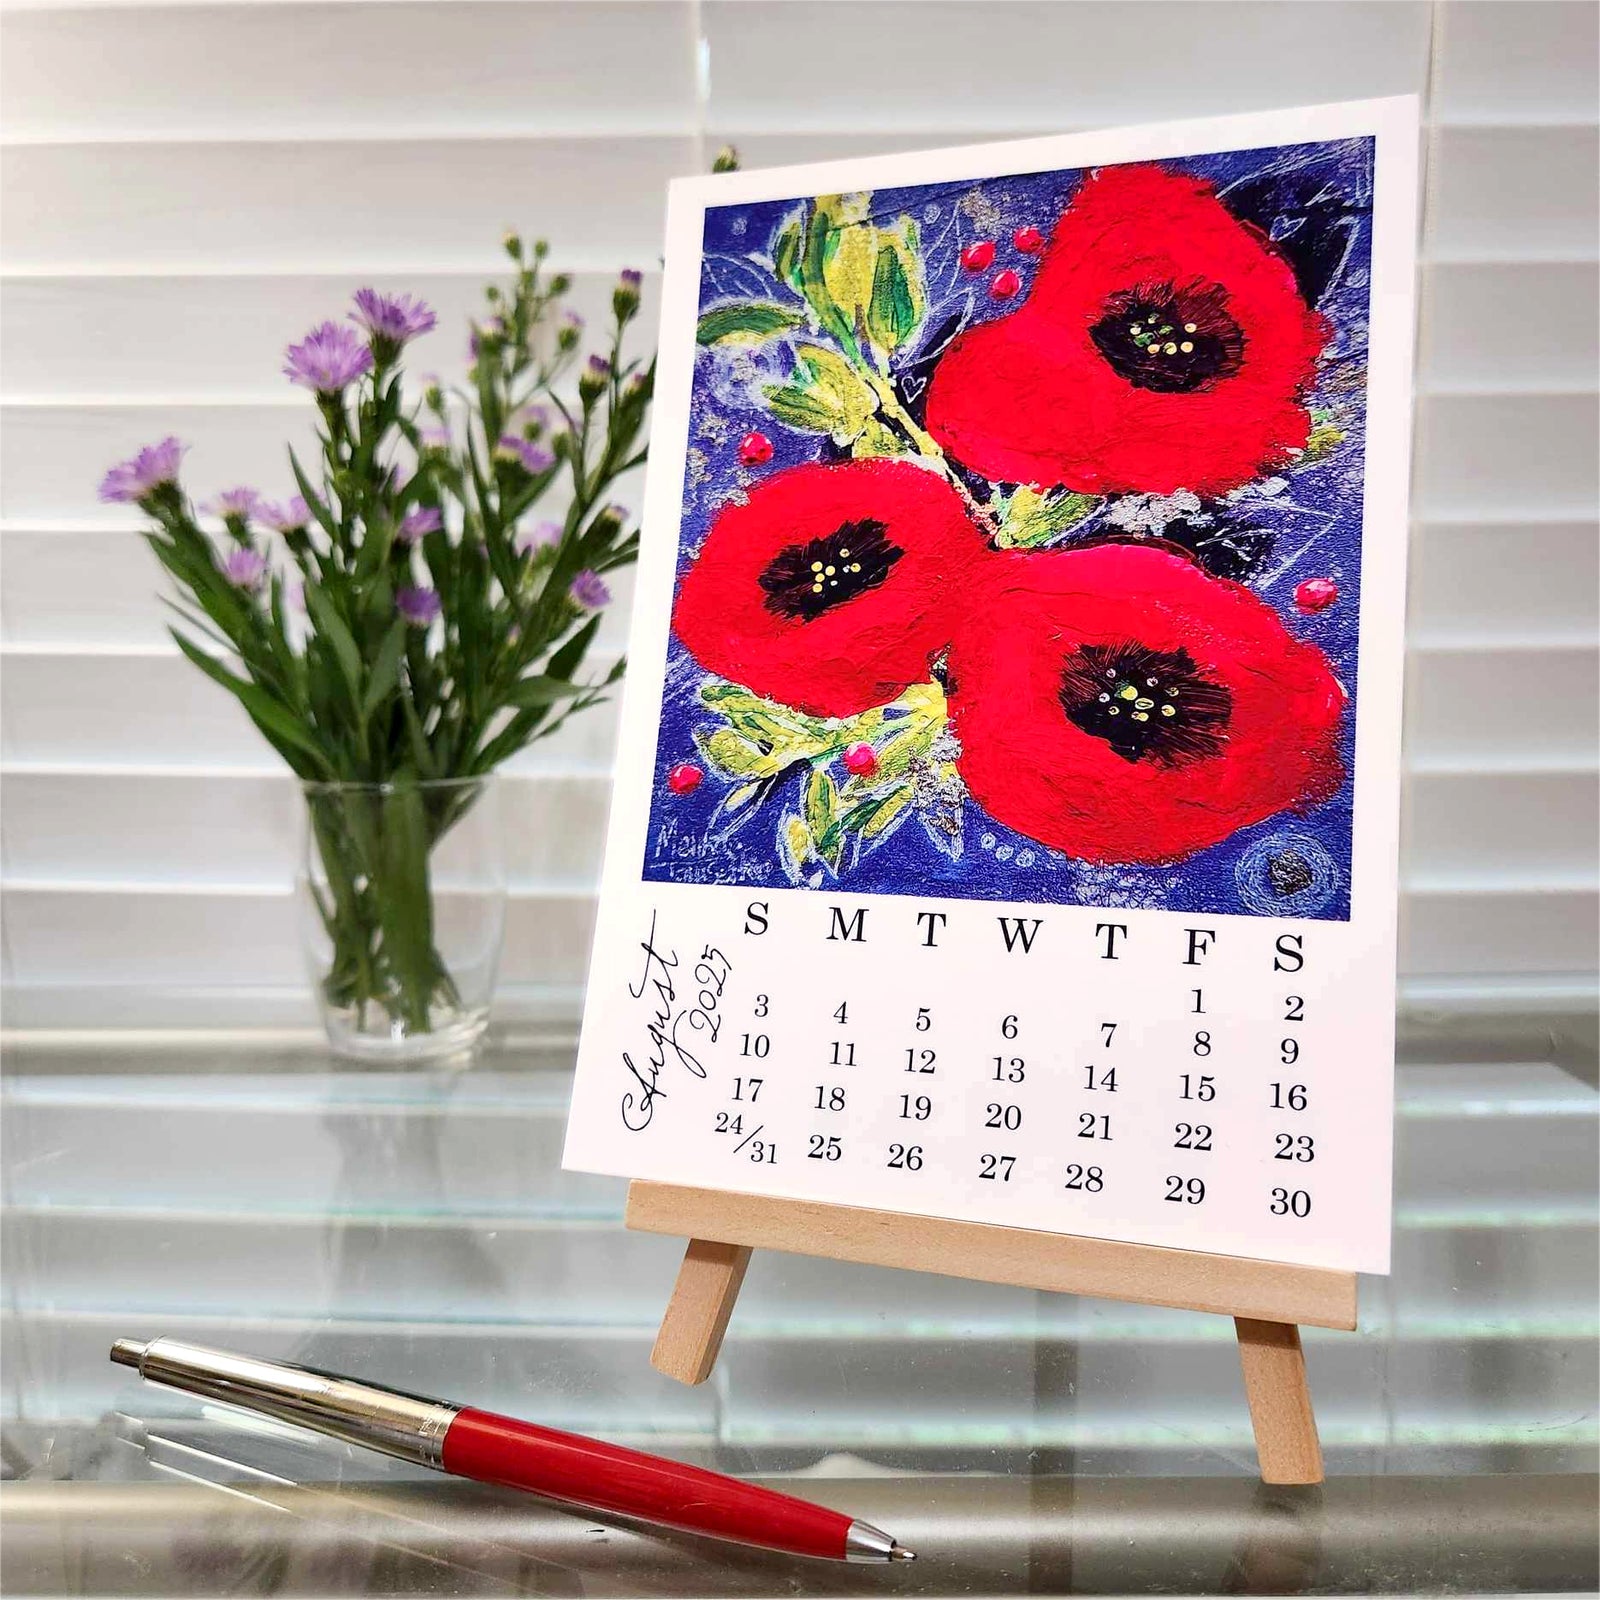

The Gift that Keeps on Giving
Here are four creative ways to utilize my art calendar cards once the month has passed.